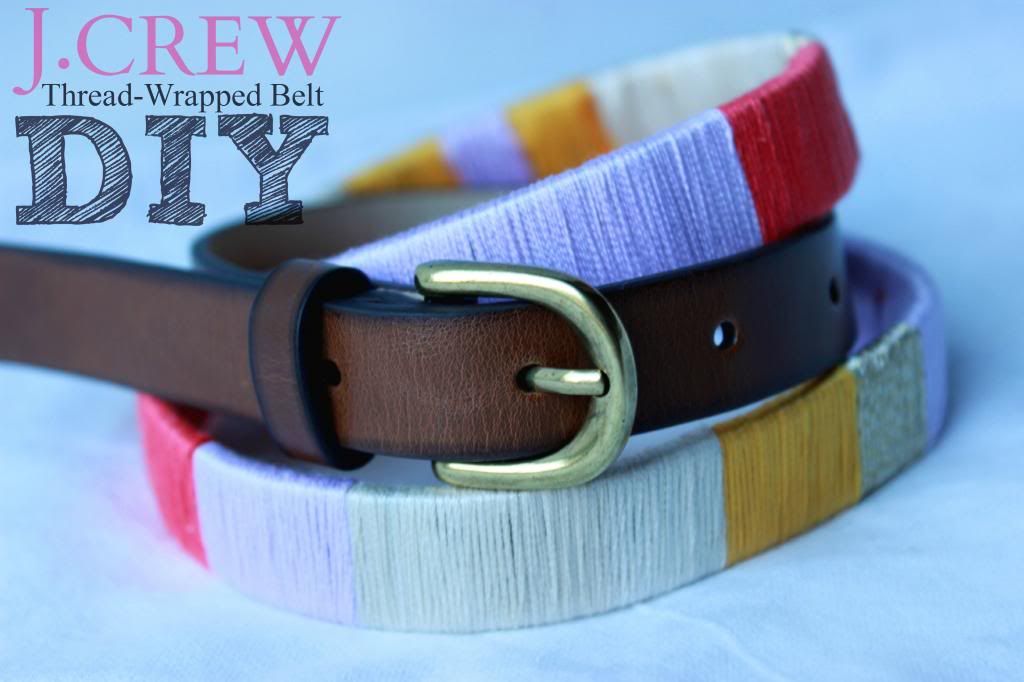
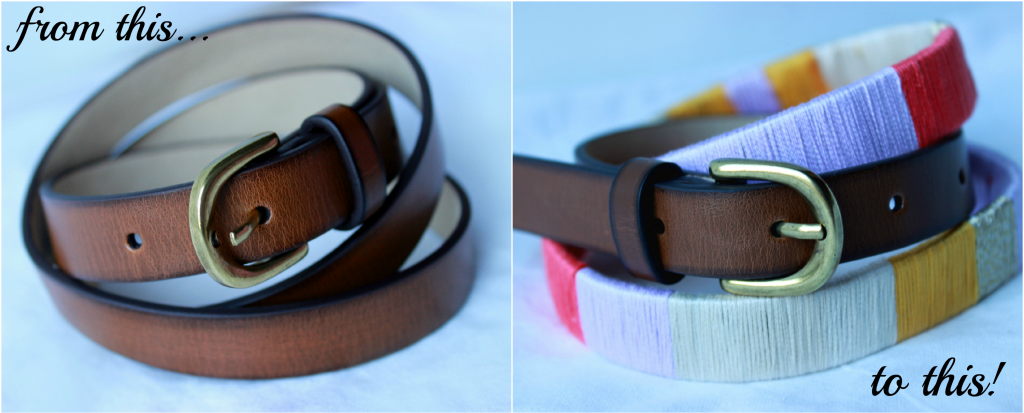
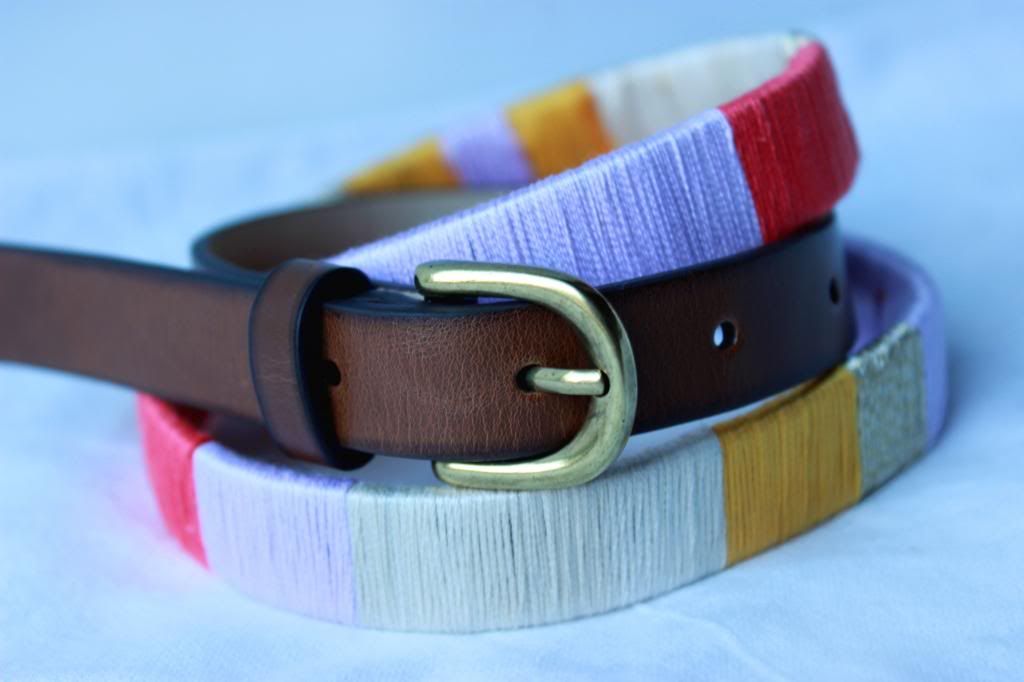
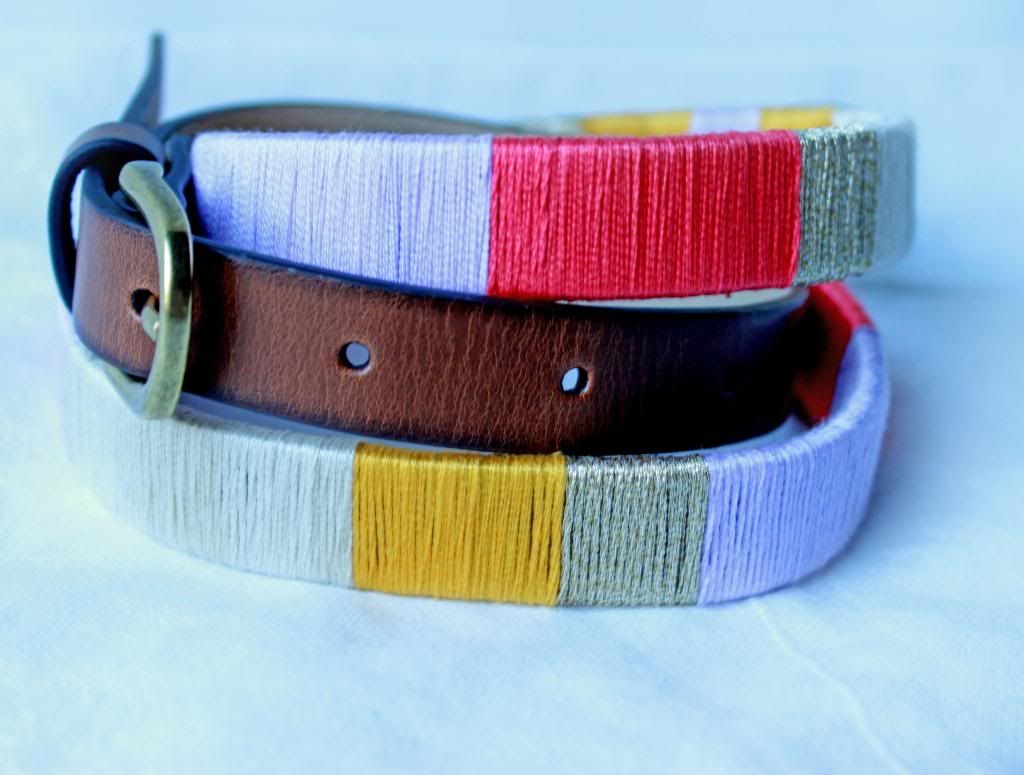
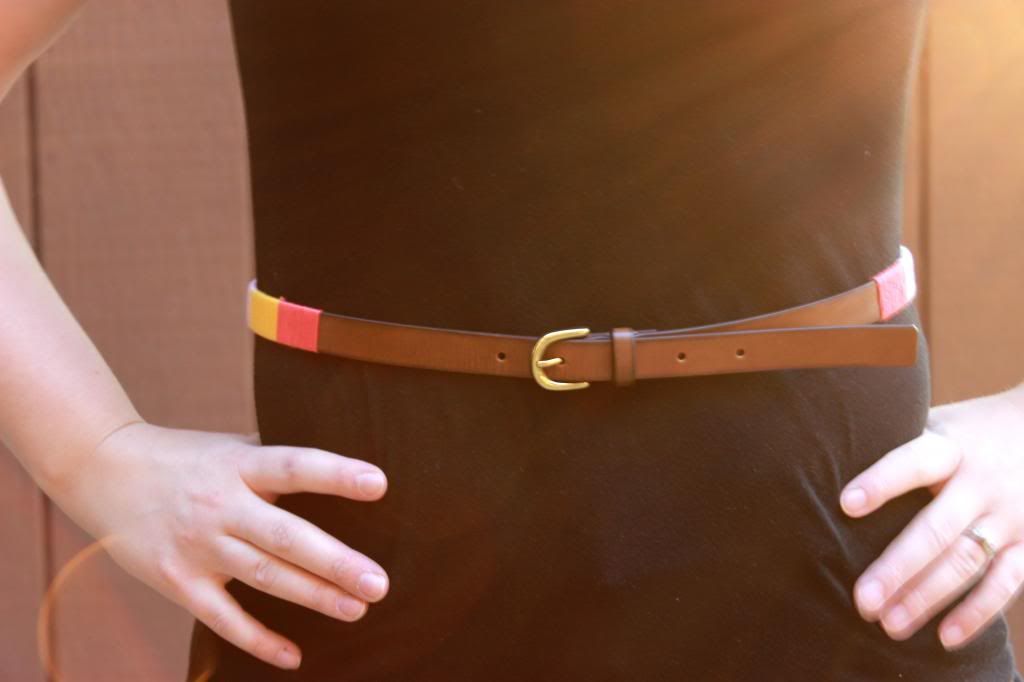
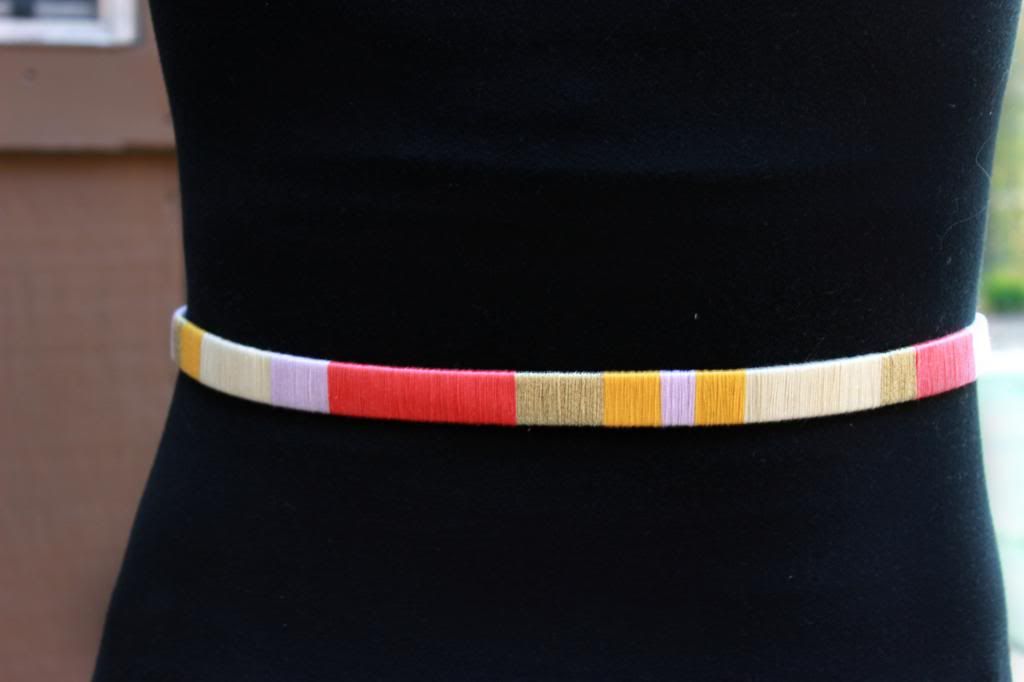
I saw this belt at J.Crew, and then most recently at J.Crew Factory last month, and thought it was super cute! I didn't like the price tag, however. I don't think I've ever spent $58 on a belt {though now they are on sale for ~$30}. Even this belt which was pricey was not that expensive. I kept thinking about it later and realized I could totally make this belt on my own! I knew it had to be fairly simple, especially using things I already had in the house. I mean, hello 5 year old belt that I never wear! Remixing at it's finest :) Well, it turns out I was right, it was very easy and something you could all do! Because honestly, if I can do it, anybody can. Enjoy!
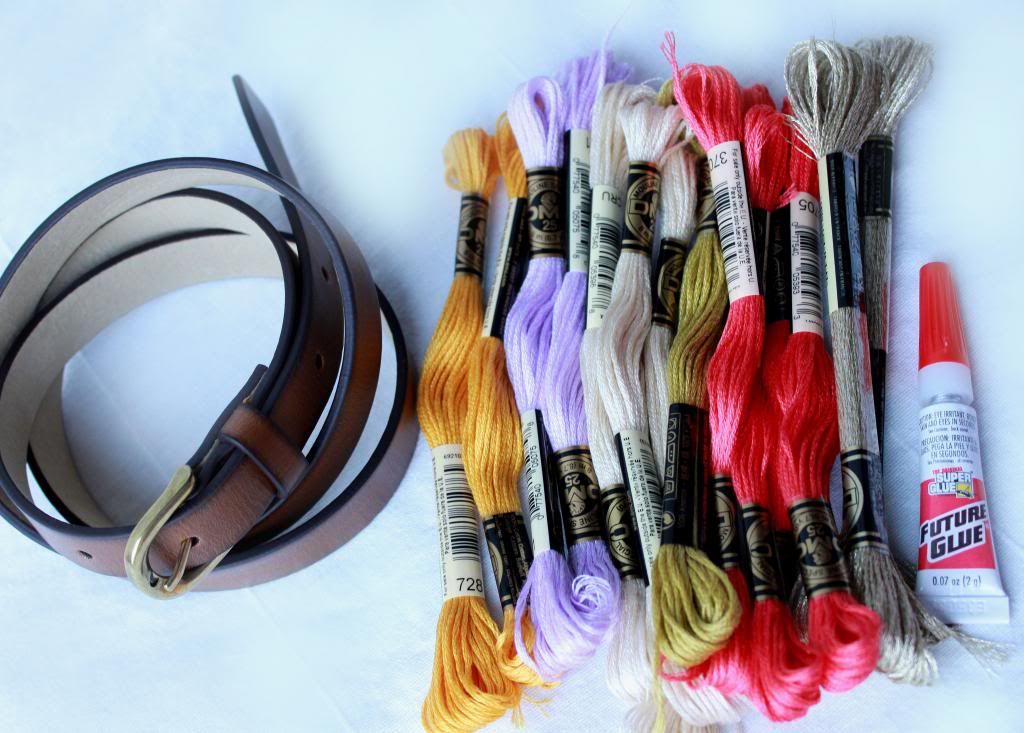
First things first... the supplies:
-Super Glue {or glue gun}
-Embroidery Thread {ended up only needing one package of each color}
-Belt
-Scissors {not pictured}
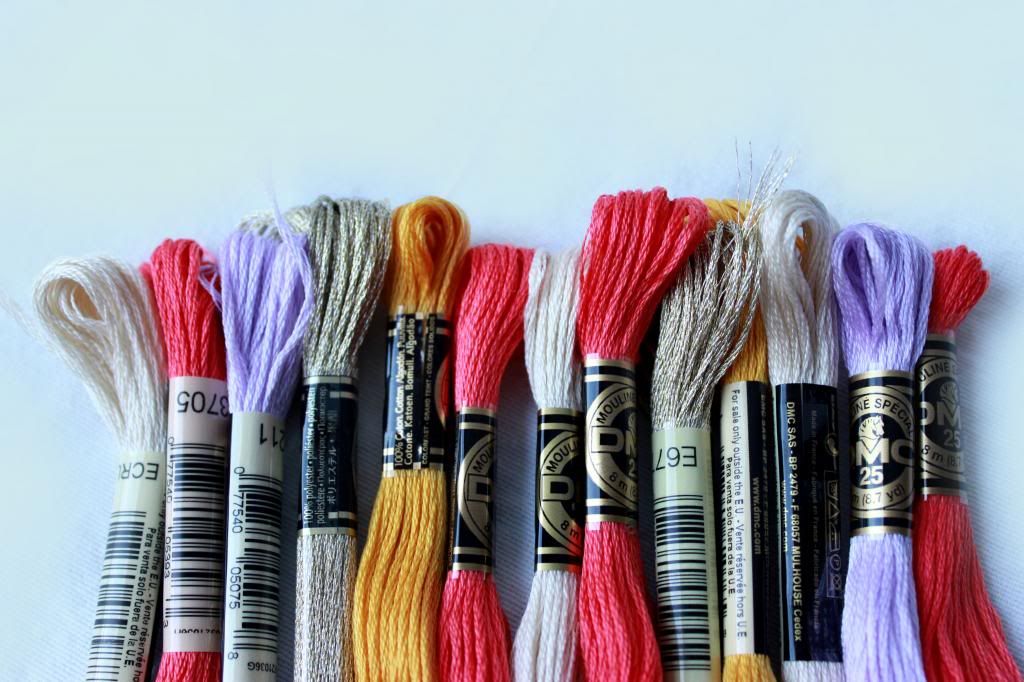
Now you can organize your colors. I wanted to have an idea of how I would order the colors on the belt. Okay... this is an optional step but if you're OCD then you know it's crucial for getting started.
Start by measuring a few inches from the hole that you will usually have your belt set to. You can mark this spot with a pencil if you wish. You will also need to do the same measurement where the metal clasp attaches to the belt. That mark is where you will want to start wrapping the thread {I started on the side closest to the metal clasp}. Glue down the end of the string to the back of the belt. I glued down a long section so that I was sure it wouldn't end up fraying later.
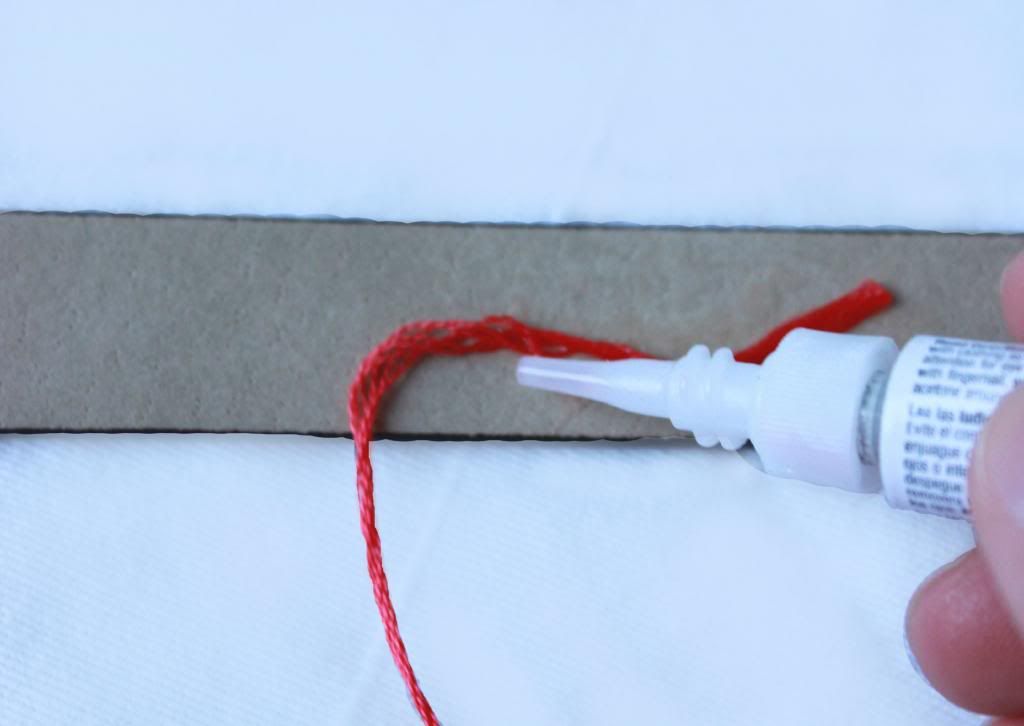
Next, you'll want to begin wrapping the thread around the belt {over the section you glued down}. I made sure to almost unwind the string as I went so that the string would lie flat against the belt. If you don't, the string will get wound up really tightly the more you circle the belt and it won't have as clean of a look on the front. You'll notice what I'm saying as you work on this but it's hard to explain in words. Another tip I found helpful is turning the belt instead of the moving the string to wind the thread around. It was a lot faster for me and hopefully will be for you too.
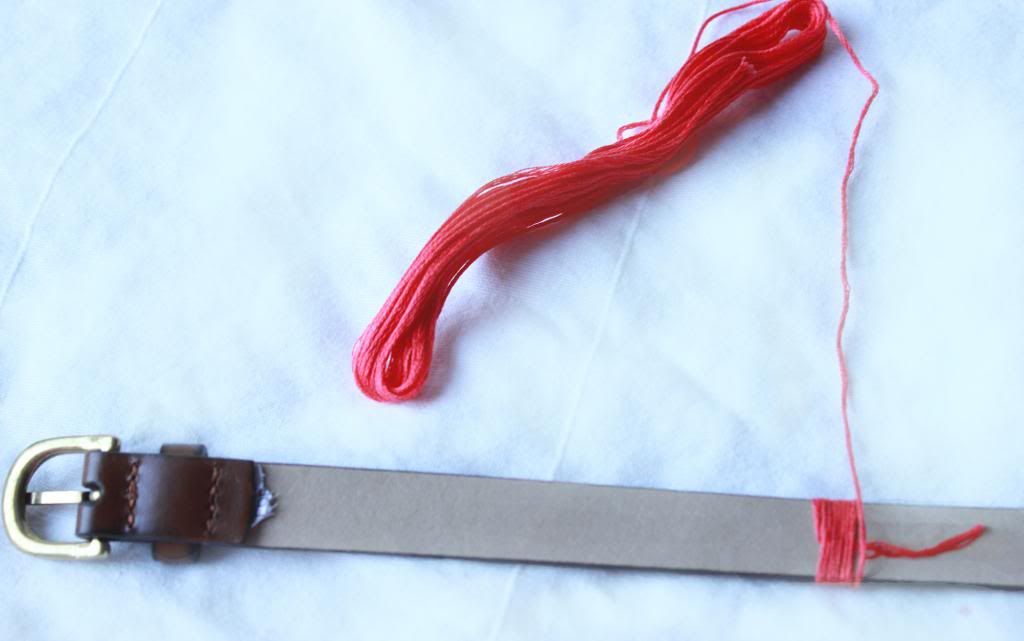
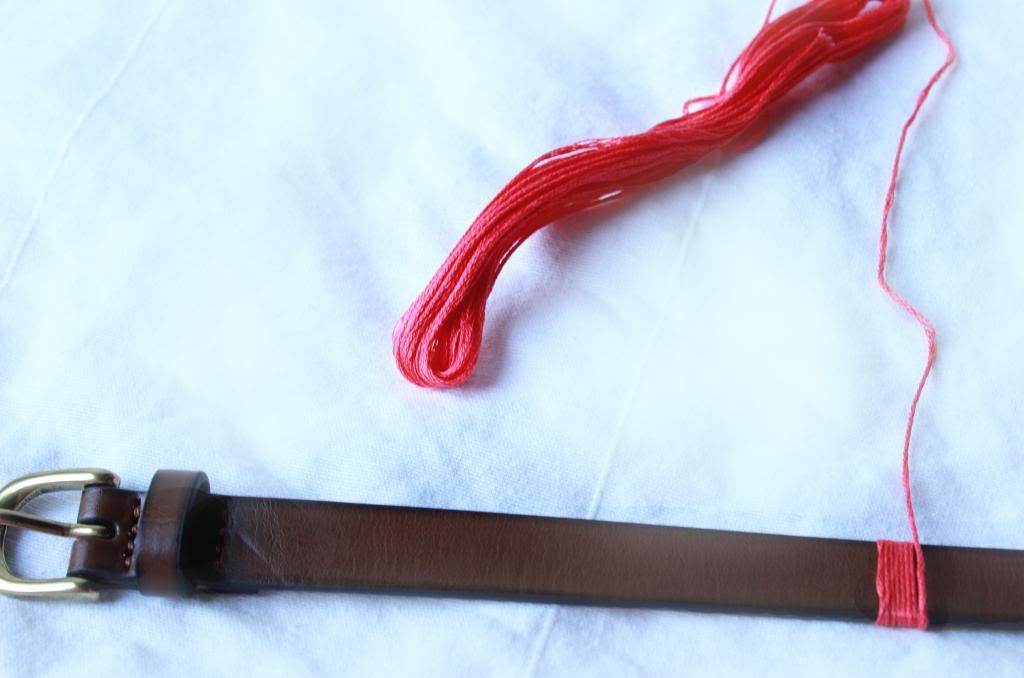
Have fun with the widths and colors patterns as you wind the thread. I didn't really have a pattern in mind when making my belt {other than organizing the colors into what I thought looked like a good combination at the beginning} and I think it sometimes turns out better that way! As you go from one color to the next, glue down the ends like you did to start the belt and wrap over it. No need to be perfect on the backside. Obviously I wasn't.
Just keep wrapping until you get to your other pencil mark! I went a little past the pencil mark once I realized it looked a little off center when I tried it on. You might need to let it dry and try the belt on to make sure the thread looks even on both sides.
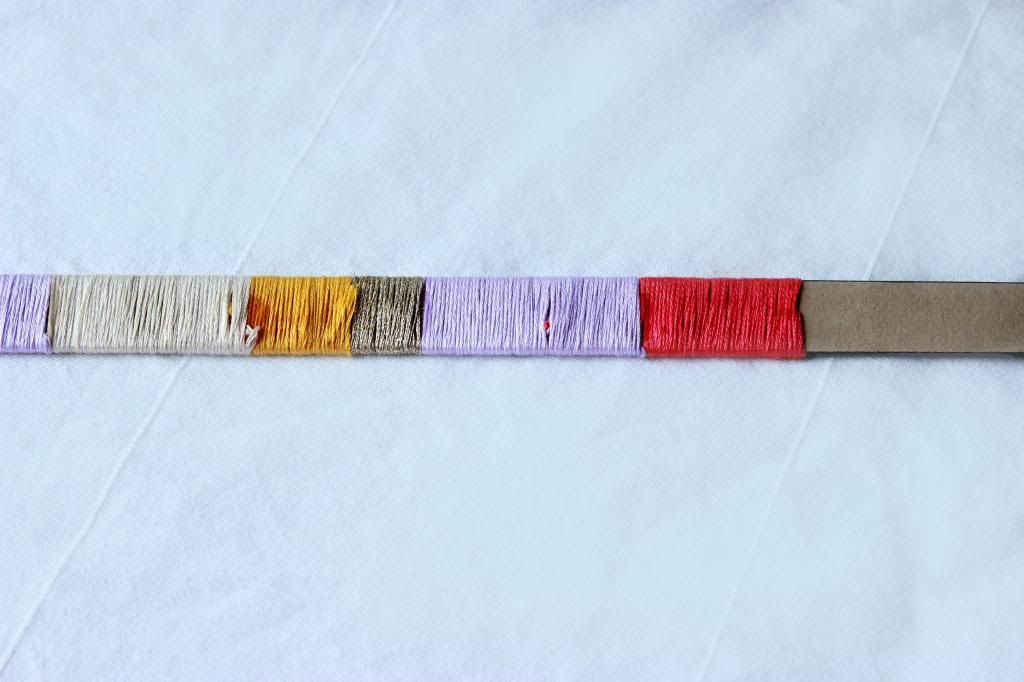
And that's it! See, super easy and so much fun! You can also wrap the belt loop {is that what's it's called? brain fart.} to add some more color to the front of the belt. My loop was pretty thin {see: I was lazy} so I didn't end up wrapping it but I do think it would look good with some extra color!
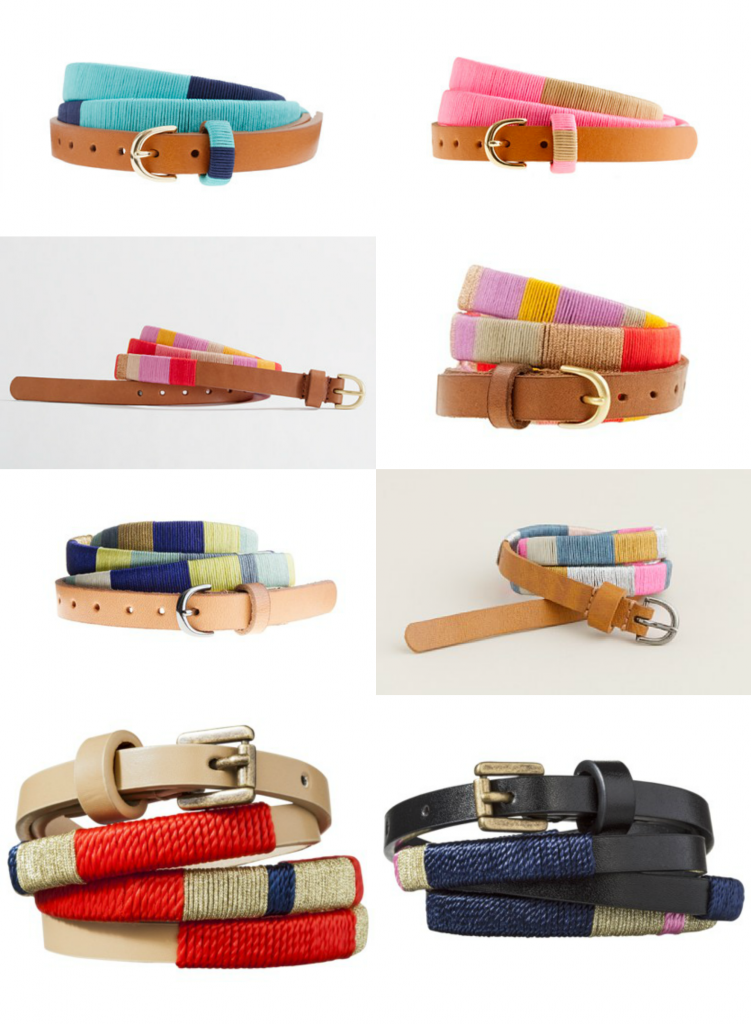
Here are some other belts I've seen around, hope they give you some color inspiration! Have fun with it and leave me links to some of your
designs!


0 comments:
Post a Comment